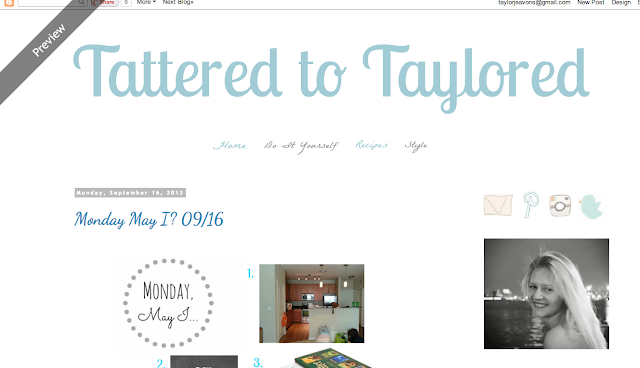
Tutorial: DIY Blogger Banner
6:00 AMI would love to buy one of the beautiful blog layouts seen on my favorite blogger's sites. But I'm such a newbie, I don't want to invest until I'm sure of "who" my blog is. So I've been teaching myself how to make my own buttons, banners, and how to write dreaded HTML code.
I started with a blog layout that I had found on a free layout blogger site. While it was pretty, it wasn't what I wanted. I've always adored the blogs with their all white backgrounds and simple banners, so I decided to make one myself... the banner was vital.
Today I'll share how to make your own header for Blogger using one of my favorite free online programs: PicMonkey :)
1. Go to your blogger home page and click on the template tab
2. Click on Customize
3. Click on adjust widths and write down your widths for the next step...
4. Go to Picmonkey.com and click on edit a photo. Choose any picture you have on your computer. Really it doesn't matter which picture :) Once you have that open, click on resize
5. You want to pull out your number from you "adjust width" step. [Mine is 1170]. Unclick the ''keep proportions'' and type in the first box your number minus 20 [1150] and in the second box 200 [if you want a bigger banner you may need to adjust your height] the press "apply"
6. Click on the sticker tool on the left side of the toolbox [butterfly] Click on the geometric shapes and choose the rectangle
7. Drag the rectangle over you entire picture and change it to whatever color you want. I choose all white so it blends right into my blog background. Now click on the merge tool on the top [DO NOT FORGET THIS!]
8. Now you want to click on the text tool [Tt, right about the butterfly]. You now can add the name of you banner and change it to whatever color you like! If you have any images you want to be in your banner you can add them by using the "Your Own" button in the sticker tool :) Now click save on the top tool bar. [Don't x out of this window, your banner may not fit perfectly the same time and you can simply update the size using "resize" if it doesn't fit]
9. This is important! If you are using a white background banner save you banner as a PNG, this way the background will be transparent and will blend in properly! Save it to where is easy for you to find and head back over to your blogger homepage
10. Click on the layout tab
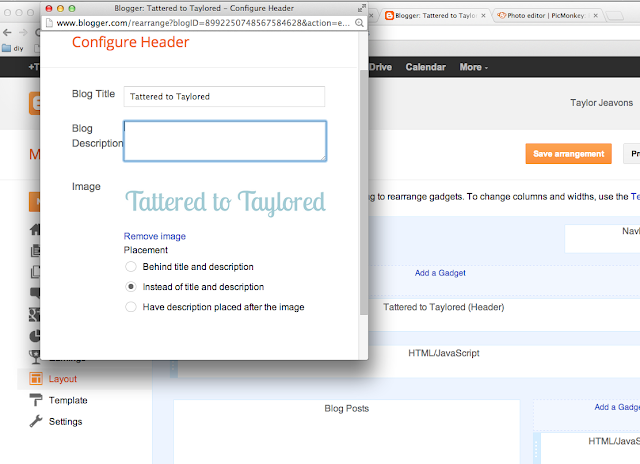
11. Click on edit on your header box
12. Add your banner image from you new computer, make sure "shrink to fit" is NOT checked off and click on "instead of title and description"
13. Click save and then preview your blog! Your new banner should now be in place of you old one! Again, if the size is not perfect, click back over to picmonkey and use the resize tool to get the right size :) Make sure you press "save arrangement" out on your main layout page as well!

Hope this helps you make a perfectly Taylored banner :)


4 comments